CapCut Effects: How the Library Works and How to Use It Well
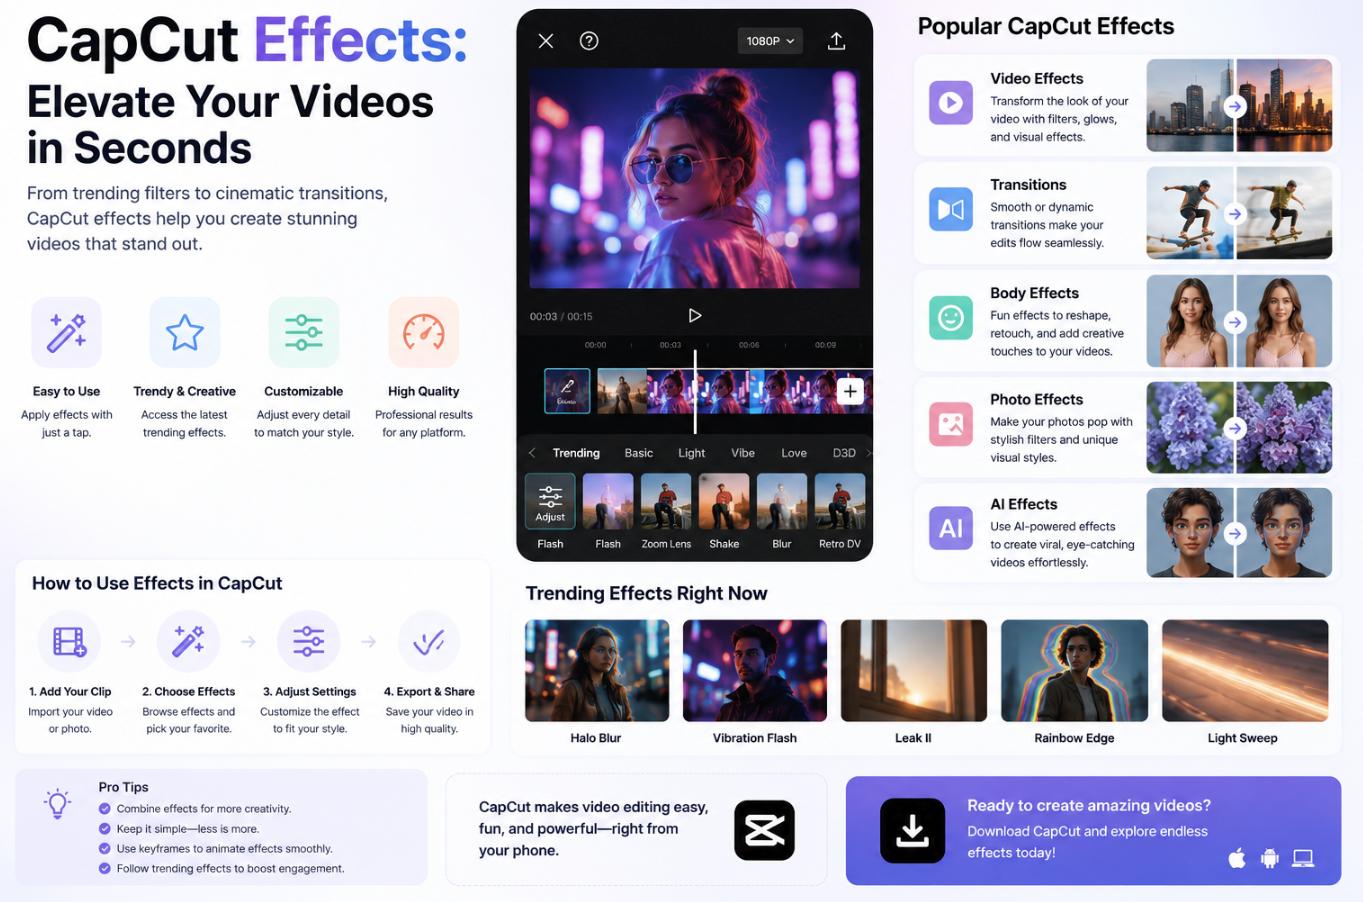
CapCut has spent the last several years becoming the default video editor for anyone under thirty producing content for TikTok, Instagram Reels, or YouTube Shorts, and its effects library is one of the reasons why. Free, deep, mobile-first, and updated on a near-weekly cadence, the effects are why trends move as fast as they do — a specific look surfaces on TikTok on Monday, and by Wednesday the effect that produces it is in the trending row of CapCut, ready to be applied by anyone with a phone. This piece unpacks the CapCut effects system practically: how it is organised, which categories matter for which uses, how effects interact with the rest of an edit, and how to work with the library efficiently rather than getting lost in it.
How CapCut organises its effects
The app splits effects into several distinct panels, each with its own logic. Understanding the split saves substantial hunting time inside long editing sessions.
Video Effects apply to a single clip on the timeline. They are visual overlays — glitch, blur, distortion, colour treatments, cinematic looks — that layer over the underlying footage without changing the footage itself. Video effects can be stacked, and stacking is where most of the more sophisticated CapCut looks actually come from.
Body Effects use on-device machine learning to identify people in the frame and apply effects that follow them. These include object masks, outline effects, silhouettes, and effects that separate a subject from a background without a green screen. Body effects are computationally heavier than video effects and can affect real-time preview performance on older phones.
Filters live in a separate panel from Effects and function as full-frame colour treatments — LUTs, in professional terms. They set the base look of a clip, and they are typically applied first, with additional effects layered on top.
Transitions are the animations between clips. CapCut’s transition library is one of the most active parts of the app and one of the most visible in trend-driven content.
Stickers, Text, and Overlays sit adjacent to effects and often achieve the same visual outcomes through different mechanisms. Trend-driven overlays — floating captions, animated stickers tied to a specific trend — occupy their own panel but blend into what most creators think of as “effects” in casual conversation.
The categories that pay off most in practice
Cinematic colour treatments
The most durable category. Colour grading — cinematic warmth, teal-and-orange contrast, muted film-emulation looks — outlasts trends and gives content a consistent aesthetic across posts. Learning three or four filter combinations that fit a personal aesthetic and applying them consistently across a channel does more for perceived production quality than any single trending effect.
Motion and speed effects
Speed ramping — smooth transitions between fast and slow playback within a clip — is one of the effects with the biggest perceptual impact per second of editing effort. CapCut’s Speed → Curve panel gives access to preset ramps (Montage, Hero, Bullet, Jump Cut, Flash In, Flash Out, and custom curves). Used lightly, speed ramps make ordinary phone footage feel edited. Used heavily, they signal a specific era of content style; used at all, they do something no static video can.
Trend-specific effects
These are the effects that flood the trending row for a week or two and then subside. Examples over the last several years: the AI Face Swap effect, the anime filter era, various “photograph as video” transformations, and specific effects tied to popular audio. They are worth using tactically when they align with a specific piece of content, and worth ignoring when they do not. Building an entire content style around trend effects is a short-term strategy; using them as accents inside a stable base style is a long-term one.
Background removal and green-screen substitutes
CapCut’s background-removal feature has improved substantially. It now handles hair and edges reasonably well on well-lit footage, and its output is usable for content that would previously have required a physical green screen. This unlocks specific formats — talking-head compositions with dynamic backgrounds, character-driven visual gags, tutorial content with clean backdrops — from a phone shoot.
Text and caption animations
Not strictly an effect in CapCut’s UI language, but perceptually the closest neighbour. Modern short-form content is dominated by animated captions, and CapCut’s Auto Caption feature combined with its text animation library produces the specific look most creators are chasing. Beyond the obvious accessibility benefit, well-animated captions materially increase completion rates on muted or silent viewing, which is most viewing on most platforms.
Applying effects well — a mental model
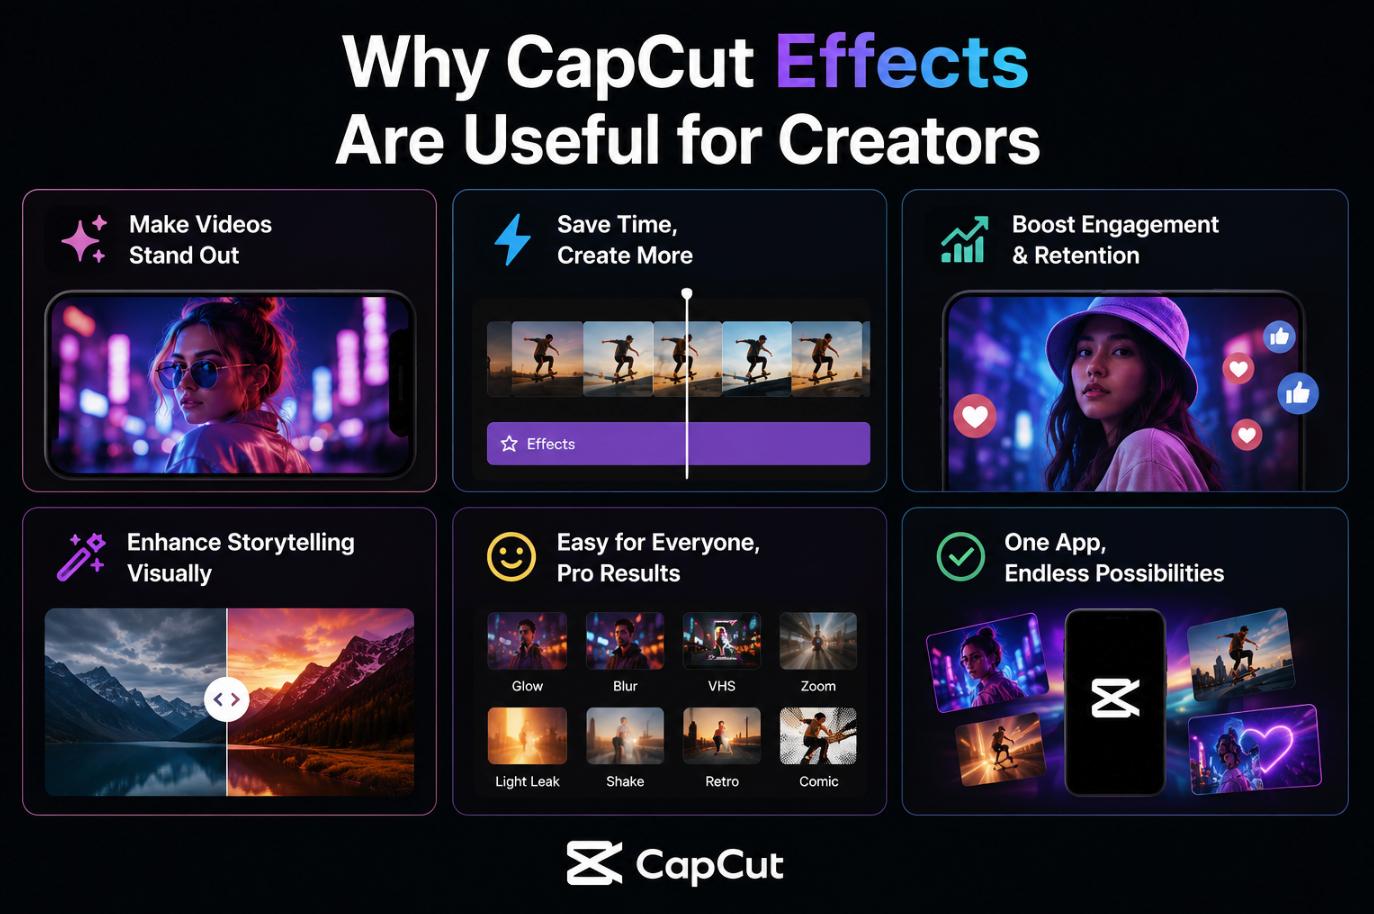
The difference between a video that looks casually thrown together and one that feels intentional is usually a small number of restraint decisions rather than a large number of effect choices.
- Set a base look with one filter, then commit to it across the whole video. Consistency reads as intention.
- Use motion effects at moments of transition or emphasis, not continuously. Speed ramps that never rest lose their impact.
- Layer at most two effects on any single clip unless you have a specific reason for more. Effect stacking gets messy fast.
- Match effect intensity to audio. Sudden effects on quiet moments feel disconnected; effects synchronised to a beat or a dialogue emphasis land.
- Give each effect its own moment. If a video applies six different effects across ten clips, the effects will fight each other for attention.
- Test on the target platform, not just in preview. What looks good on the CapCut preview may compress differently on TikTok or Instagram, particularly for high-contrast or heavy-grain effects.
Keyframes — the underused power tool
Most CapCut effects are static: apply the effect to a clip and it runs at the same intensity for the whole clip. Keyframes change that. Every effect parameter — intensity, position, scale, opacity, colour balance, blur amount — can be keyframed, meaning it can be set to different values at different points in the clip and animated between them. This unlocks a class of edits that appear far more sophisticated than they actually are to produce.
A common example is a subtle zoom on a talking head that grows almost imperceptibly across a three-second clip, creating tension without the viewer consciously noticing. Another is a filter that fades in over the first half of a clip so a colour shift matches an audio cue. A third is a body outline effect that gets brighter as the character in frame moves toward the centre of composition. Keyframing is what separates people who use CapCut for two months from people who use it for two years — the technique unlocks depth the effect library alone cannot provide.
Performance and workflow considerations
Effects have real cost. On older Android phones and mid-tier iPhones, stacking multiple heavy effects — particularly body effects, AI-based transformations, and 4K exports — leads to render slowdowns, crashes, or lower-quality final output than the preview implied.
The reliable pattern is to edit at 1080p unless you have a specific reason for higher resolution, apply the heaviest effect last after the timeline structure is stable, and export in short segments if the render fails at full length. Rendering to the device’s photo library and re-uploading to CapCut is a workable escape hatch when the timeline gets too heavy to manage in one project.
The desktop version of CapCut, which has grown substantially since its early release, handles heavier effect stacks better than the mobile app and is worth learning for creators producing longer-form content or working with multiple clips shot on higher-quality cameras.
Where the CapCut effects library is heading
Two trends define the direction of the app’s effects work in 2026.
AI-driven effects have become mainstream inside CapCut. Face swapping, style transfer, virtual makeup, and background generation are all one-tap features. The quality varies, and the technology carries its own set of considerations around consent and authenticity, but the trajectory is clearly toward heavier AI integration in what used to be manual editing tasks. Creators are still working out which of these features improve content and which are stylistic dead ends.
Cross-platform export polish has quietly improved. CapCut has invested in getting the output to look right on the specific compression and resolution targets of TikTok, Instagram, and YouTube Shorts. Small choices — bit rate, colour space, frame rate — are handled with defaults that produce better platform-side output than raw uploads from other editors typically achieve. For creators, this means default settings are usually the right choice.
A working perspective on getting more from the library
The most effective way to use CapCut’s effects library is not to try to know all of it. The library is huge and grows every week; comprehensive knowledge is neither achievable nor useful. What works is developing a small vocabulary of effects that fit a specific channel’s voice, keeping an ear out for trending effects that align with specific ideas, and building the muscle to combine effects with intention rather than accumulation.
The creators whose editing consistently reads as considered — not necessarily the most popular, but the ones whose work has a distinct look — are almost universally the ones using fewer effects, more consistently, and with clearer purpose than their peers. The library rewards that discipline more than it rewards exploration for its own sake.